Tech Guide
Read our carefully prepared and easy-to-understand instruction manuals or watch how it gets done in our video tutorials.
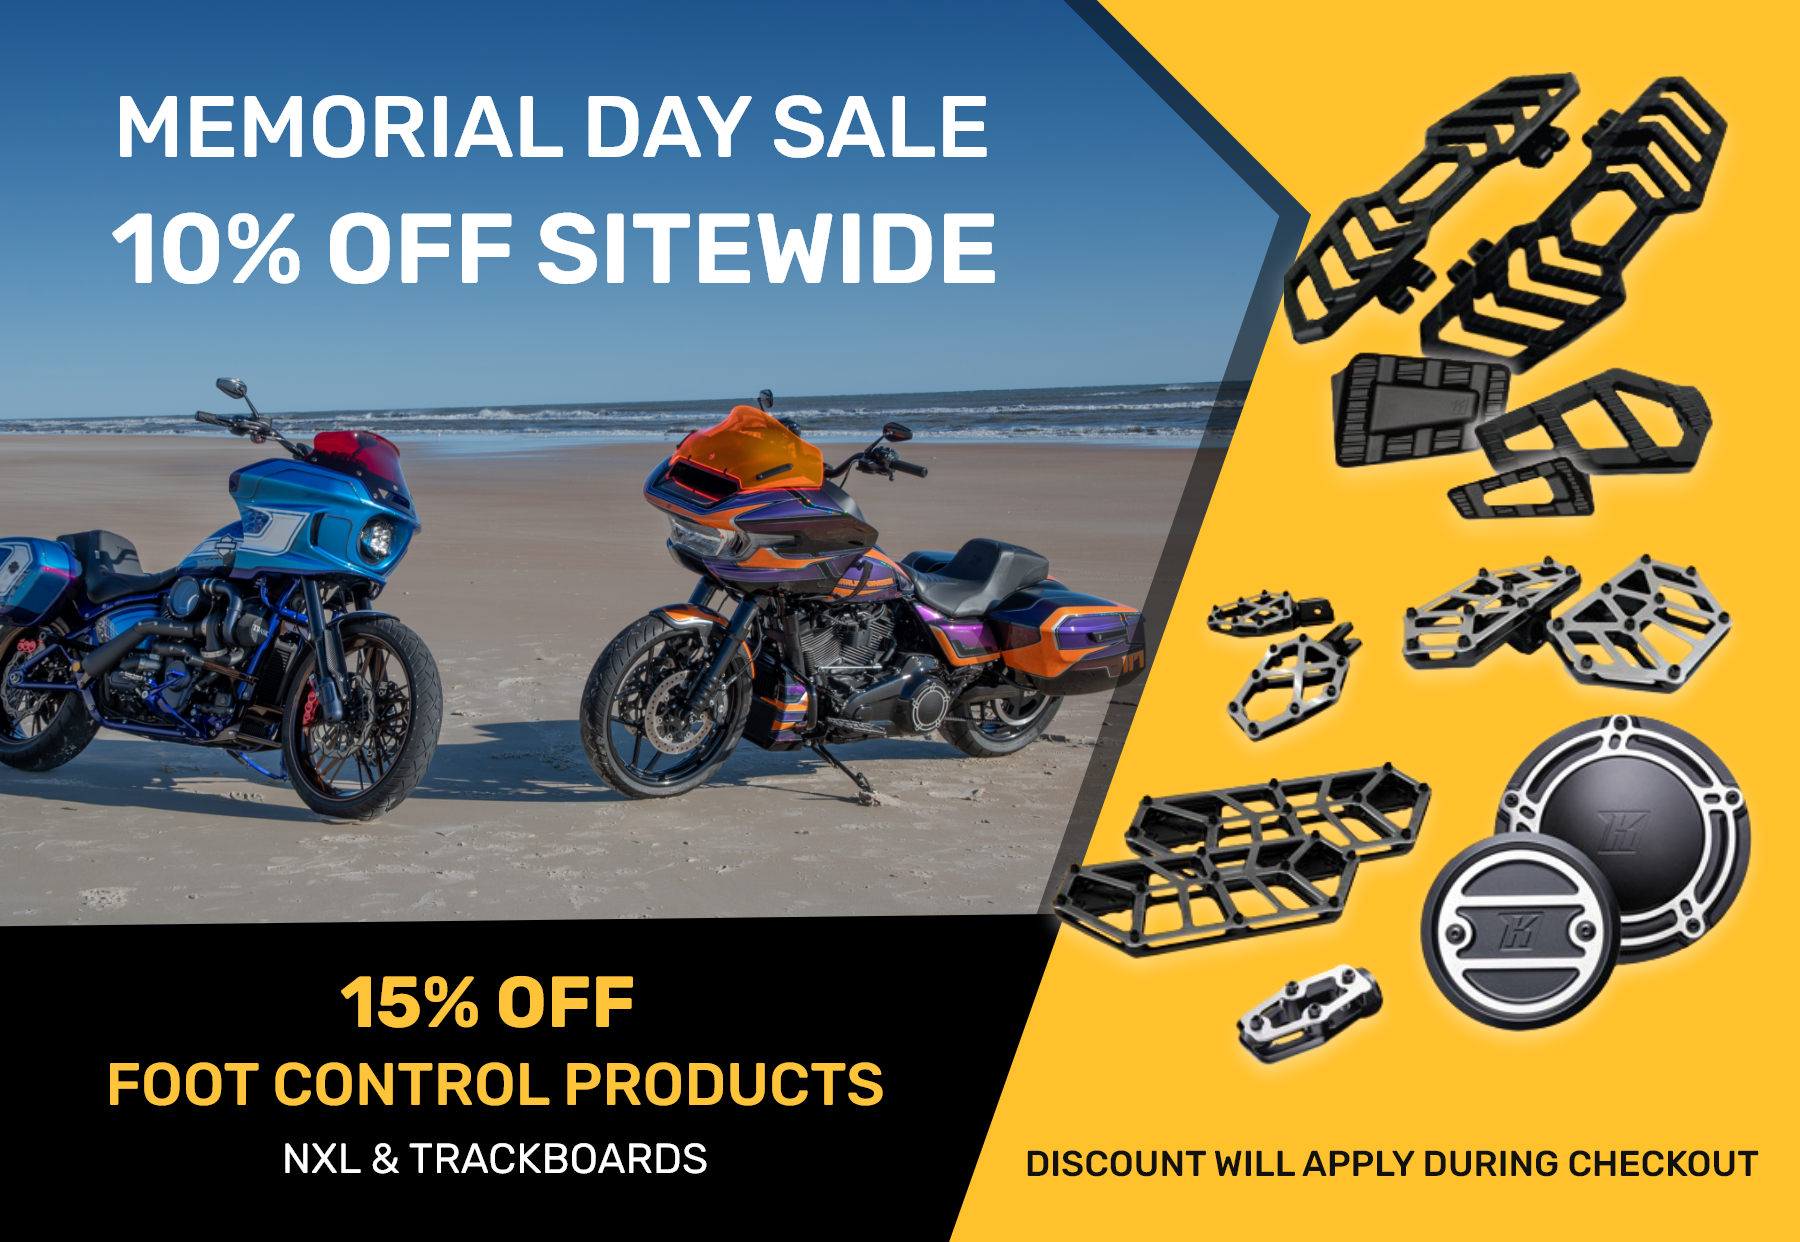
Installation Guide List
- Installation Instructions K55117
- Installation Instructions K55118
- Installation Instructions Kodlin Elypse turn signals K68458
- Installation Instructions Kodlin Elypse turn signals K68486
- Installation Instructions Kodlin Elypse turn signals K68460
- Installation Instructions Kodlin Elypse turn signals K68488
- Installation Instructions Kodlin Road Glide Turn Signals K68459
- Installation Instructions Kodlin Road Glide Turn Signals K68487
- Installation Instructions Legit Turn Signals K68467
- Installation Instructions Legit Turn Signals K68468
- Installation Instructions Legit Turn Signals K68469
- Instructions Kodlin Gas Tank K61143
- Installation Instructions Kodlin Stretch Tank K61143 2023 up
- Installation Instructions for Lowering and Lift Kits K66027-K66028
- Installation Instructions for Kodlin Sleek Lights K68495 K68496
- Installation Instructions for 2-1 Elypse For Sportster S K68497
- Installation Instructions for Kodlin Trackboards for HD Touring model K73232
- Installation Instructions for Kodlin Mini-Trackboard K73244
- Installation Instructions for KodlinTrackboard Shifter Pegs and Brake Pad K73240 K73242
- Installation Instructions For Pan American 1” K66031 and 2” K66029 Lowering Kits
- Installation Instruction Kodlin Lift Kit K66026-K66032
- Installation Instructions For M8 Softail License Plate Bracket KUS20501 KUS20700 KUS20701
- Installation Instructions For for Kodlin Splined Peg Adapters K73250 K73251 K73252
- Installation Instructions for KUS20500 Kodlin License Plate Bracket for Sportster S models
- Installation Instructions for Kodlin 3-1 Mini Fender Strut Indicators K68489
- Installation Instructions for Kodlin Front Fender K59306
- Installation Instructions for Kodlin 1.5” Super Fat Flowbars KUS30100 through KUS30105
- Installation Instructions for Kodlin Curved Touring License Plate Kit-KUS20300-KUS20301
- Installation Instructions for Kodlin Oval Air Cleaner K29244 and K29245
- Installation Instructions for Kodlin NXL Mini Boards - K73254
- Installation Instructions for Kodlin New Style Latch Covers for HD Touring K59490 and K59491
- Installation Instructions for Brake MC Cover for VVT Style Touring
- Installation Instructions for Kodlin NXL Shifter Peg
- Instructions Kodlin 3-1 Rear Indicators K68461
- Instructions Kodlin 3-1 Rear Indicators K68462
- Instructions Kodlin 3-1 Rear Indicators K68463
- Instructions Kodlin 3-1 Rear Indicators K68464
- Instructions using K66030 Spring Comp Tool with K66024 Lowering Kit
- Instructions using K66030 Spring Comp Tool with K66025 Lowering Kit
- Assembling Kodlin Shock Compression Tool K66030
- Kodlin Lowering Kit K66024 Instructions
- Kodlin Lowering Kit K66025 Instructions
- Instructions Kodlin Wide Rear Fender K59437
- Instructions for Front 2-wire LED Install Kit KUS11550 for M8 Softails
- Instructions for Rear LED Install Kit KUS11500 for M8 Softails
- Installation Instructions for K46660 Front Fork Covers for M8 Softail Breakout
- Installation Instructions for Kodlin Curved Touring License Plate Kit KUS20100
- Installation Instructions for Kodlin Curved Touring License Plate Kit KUS20101
- Installation Instructions for Front 2-1 LED for FXLRST K68532
- Installation Instruction for Kodlin Custom Seats K59660, K59661-L and K59662-S
- Installation Instructions For K68499 Kodlin Elypse 3-1 Rear Light Bar for Sportster S models
- Installation Instructions for KUS11600 Kodlin Rear LED Wiring Harness for Sportster S
- Installation Intructions for M8 Softail Rear Harness KUS11501
- Installation Instructions for Fastback Risers with Digital Dash K55121, K55122, and K55123
- Installation Instructions for Fastback Risers Universal K55127, K55128, and K55129
- Installation Instructions for Fastback Risers for Low Rider S K55130, K55131, and K55132
- Installation Instructions for Kodlin Curved Universal License Plate Kit KUS20200-KUS20201
- Installation Instruction for Kodlin Steel Chin Spoiler K59535
- Installation Instructions for Kodlin 1.5” Super Fat Flowbars KUS30200 through KUS30205
- Installation Instructions for Kodlin Big Block Risers - K55119, K55120
- Installation Instructions for Kodlin NXL Floorboards for HD Touring Models - K73253
- Installation Instructions for Kodlin NXL Footpeg - K73255
- Installation Instructions for Kodlin Oval Air Cleaner (VVT Style)- K29246 and K29247
- Installation Instructions for Reservoir Cover
- Installation Instructions for Horn Relocation Kit
- Installation Instructions For Accent Pro Pullback Risers - 10” KUS55133, KUS55134, and 8” KUS55135
- Installation Instructions For Round Gauge Bezel Kit and Digital Gauge Bezel Kit for Accent Pro Pullback Risers KUS55137, KUS55138, KUS55139 and KUS55140
- Installation Instructions For Kodlin Rear LED Wiring Harness for KUS20302, 3-1 VVT Style License Plate Kit - KUS11700
- Installation Instructions For Curved License Plate kit for 23.5-up VVT style Touring Models - KUS20102 and KUS20302
- Instructions for Installing Kodlin M8 Load Balancer-Front, KUS11800
- Instructions for Installing Kodlin Load Balancer-Rear, KUS11801
Frequently Asked Questions
- I lost my installation instructions. Where can I get a copy?
You can download PDFs of our installation instructions here: Kodlin Tech Guide – Installation Instructions.
Videos and other technical resources are also available in the Tech Guide section. - What if a product is out of stock on your website?
Check with your local Harley-Davidson dealership or a Drag Specialties dealer. Our products are also available through J&P Cycles, Dennis Kirk, and other online retailers. - What documentation is required for warranty coverage?
• Copy of the original invoice (no screenshots)
• Clear photos or a short video showing the failure
• Your contact details and shipping address
• Return of the product may be required at our discretion - Can I pick up an order directly at your store?
Yes, you can. Please call ahead to confirm the item is in stock and that someone will be available to assist you. - Do you have the color code for the bronze powder coat?
No. Harley-Davidson does not release its proprietary color codes. Our manufacturer matched the bronze finish as closely as possible, but no official code exists.
- Will the black rotors wear to silver on the outer surface?
No. According to our manufacturer SBS, they are treated with a durable thermochemical nitride coating that prevents fading. Over time, normal wear will be similar to a standard polished rotor.
- Can I order a SKU in raw billet?
The only raw material offered is stainless steel on our NXL line. All other products are chromed, anodized, or powder coated.
- Will Fastback and Ascent risers fit older models?
Yes, provided the handlebar center clamping diameter and 3.5” riser spacing match. Installers must ensure proper fitment and clearance with other accessories. - How tall are your risers?
• Breakout risers: ~1.25” from tree mount surface to handlebar (not for older Twin Cam Breakouts)
• Fastback risers: 6”, 8”, and 10” with 1” bar clamping, no pullback
• Ascent risers: 8” and 10” with 1.5” pullback - Can I buy a separate top clamp for Fastback risers if I change my speedo?
No. Top clamps are not sold separately at this time.
- Where can the mini boards be installed?
• Passenger position, and in some models, rider position (replacing a peg, not a floorboard)
• Highway peg location, if clearance allows
- Can LED turn signals be used on other models or brands?
Yes. Customizing is possible, but installers must understand the bike’s circuitry. All products are for 12-volt systems only. - My dash flasher blinks faster after installing LEDs. Is this normal?
Yes. The BCM detects a reduced load and assumes a bulb is out. Run emergency flashers for 3–5 minutes, cycle ignition, and retest. If it doesn’t normalize, a load balancer may be needed. - One LED doesn’t work after installation. What should I do?
Always test LEDs with a 12V source before installation. If an issue remains:
• Verify correct wiring and no pinched/damaged wires
• Provide your invoice, part number, supplier, and clear photo/video
• Email warranty request to info@kodlinusa.com
Wiring diagrams are available in the Tech Guide under Tech Tips. - What is a 2-1 intensifier?
It allows a two-wire LED (run or turn) to function as both, by combining two power inputs into one output. Not needed for parts K68500, K68501, K68510, or K68511. - My 3-1 rear LED brake light is amber, not red. Why?
This occurs if all four harness wires are connected directly. See the Tech Tip: M8 Softail OEM Light Harness to 3-1 LED Lights for correct wiring. - Do I need a load balancer with LED signals?
Usually not with BCM-equipped bikes. Run flashers to allow BCM to adjust. Older bikes without BCM will require a load balancer or equalizer. - My turn signal has four wires, but the bike harness has two. What now?
Your harness only supports turn signals. Add the two missing wires yourself or use a Kodlin harness designed for full 3-1 light functions. - Are your LED signals plug-and-play?
Some are, some are not. Plug-and-play models are noted on each product page under Description. Non-plug-and-play versions require splicing or a Kodlin harness.
- Are sheet metal parts ready to paint?
No. They are raw metal and must be prepped by a painter. Always test fit before painting. The Softail chin spoiler requires some assembly. Labor, prep, and paint are not covered by warranty. - What is the bar height of engine and rear guards?
• Engine guards: ~8.5” above lower frame rail; ~12.375” out from downtube (with slider)
• Rear guards: ~10” above lower frame rail; ~9.5” out from frame - Will rear crash bars need shims with aftermarket exhaust?
Possibly. It depends on the exhaust mounting system.
- How do seats for Kodlin Rear Fenders mount?
With a single bolt from underneath the fender for a clean, hidden look. - Can I order custom seat covers or stitching?
No. Seats are made to fixed specifications. - Do you make seat pans?
No.
- Do I need to cut the dampener with your lowering kit?
No. Our kits fit stock dampener sizes. - Will lowering affect handling or cause scraping?
Yes. Lowering changes handling and may increase scraping depending on setup and riding style. - I can’t reach the lock nut on the Softail lowering kit.
• Compress the spring further until a wrench fits.
• Or finish installation and use a thin wrench through the spring coils. - Do I need to replace a broken O-ring?
Yes. It seals the bearing. Contact info@kodlinusa.com for help sourcing a replacement. - How do I check if I have an external pre-load adjuster?
Remove your seat and check the upper shock area. See the Tech Tip M8 Softail Shock Types and Lowering Kit Part Number. - Do I need to adjust fork height when lowering?
Not required. You may adjust for stock-like handling, but lowering reduces ground clearance. - Do I need a shock spring tool?
Yes. A proper tool is essential for safe installation. We recommend Kodlin tool K66030. - Are your lowering kits adjustable?
No. - Do you rent shock tools?
No. Used tools are not returnable. - Can I use another brand of shock tool?
Yes, if it safely compresses the spring. Never use an automotive strut tool. - Do lowering kits affect chain/belt tension?
Yes. Always check and adjust after changing ride height.
- Does the backing plate fit larger throttle bodies?
The opening is ~64mm in diameter. - How do I clean the air filter element?
Follow K&N cleaning and re-oiling procedures.
Diagrams
*other models may vary

Pin position 1, Blue = Running light (open on some models)
Pin position 2, Violet = Turn Signal
Pin position 3, Open
Pin position 4, Black = Ground

Pin position 1, Blue = Running light to LED yellow wire
Pin position 2, Violet = Turn Signal to LED brown wire
Pin position 3, Blue/Red = Brake light to LED red wire
Pin position 4, Black = Ground to LED black wire
Wire extensions may be needed to fill pin position 1 and 3 depending on your model of bike
LED WIRE COLORS
YELLOW = Running Lights
BROWN = Turn Signal
RED = Brake
BLACK = Ground
NOTE:
On all models that only have stock turn signals functioning as run/turn/brake
lights you must have your BCM taillight configuration set to "Dedicated taillight".
This is typically done at Harley dealership or shop with that capability.
This will stop brake signal voltage from going to pin 2 and causing an amber
LED brake light. Brake signal will now only go through pin 3 for proper red
LED brake light.
Tech Tips
- M8 Softail Shock Types and Lowering Kit Part Number
- Front LED Install Kit w-Load Balancer KUS11400 and 2-1 Intensifier KUS11300
- Front LED Only Wiring Diagram
- Front LED with 2-1 Intensifier KUS11300
- Front LED with Load Balancer KUS11400
- Front LED with Load Balancer KUS11400 and 2-1 Intensifier KUS11300
- Rear LED with Load Balancer KUS11400 with OEM Taillight Setup
- M8 Softail OEM Light Harness to 3-1 LED Lights
- M8 Softail Rear Install Kit KUS11500 to 3-1 LED Lights
- M8 Softail Rear Install Kit KUS11501(without load balancer) to 3-1 LED Lights.
- KUS11400 Load Balancer Only
- 3-1 Neowise LED installation on Wide Rear Fender K59437
- Installing Road Glide Front Elypse Turn Signals K68459 and K68487
- Load Balancer KUS11400 for Front 2-1 LED
- KUS11400 Load Balancer For Can-Bus Motorcycles Example For Running Kodlin Front 2-1 LED's
Can’t find the answer you’re looking for?
Get the most specialized support, contact one of our technical support representatives.